ISO/TR 21477:2017
(Main)Optics and photonics — Preparation of drawings for optical elements and systems — Surface imperfection specification and measurement systems
Optics and photonics — Preparation of drawings for optical elements and systems — Surface imperfection specification and measurement systems
ISO/TR 21477:2017 intends to guide the user to understand the origins, meanings and differences between the two systems of specifying and evaluating surface imperfections in ISO 10110-7 and ISO 14997, specifically the dimensional method and the visibility method, and to provide information on how to use them. Tables are provided to show specifications of roughly equivalent yield loss for imperfections in the two systems.
Optique et photonique — Préparation des plans pour les éléments et systèmes optiques — Spécification des imperfections de surface et systèmes de mesure
General Information
Standards Content (Sample)
TECHNICAL ISO/TR
REPORT 21477
First edition
2017-08
Optics and photonics — Preparation
of drawings for optical elements
and systems — Surface imperfection
specification and measurement
systems
Optique et photonique — Préparation des plans pour les éléments
et systèmes optiques — Spécification des imperfections de surface et
systèmes de mesure
Reference number
ISO/TR 21477:2017(E)
©
ISO 2017
---------------------- Page: 1 ----------------------
ISO/TR 21477:2017(E)
COPYRIGHT PROTECTED DOCUMENT
© ISO 2017, Published in Switzerland
All rights reserved. Unless otherwise specified, no part of this publication may be reproduced or utilized otherwise in any form
or by any means, electronic or mechanical, including photocopying, or posting on the internet or an intranet, without prior
written permission. Permission can be requested from either ISO at the address below or ISO’s member body in the country of
the requester.
ISO copyright office
Ch. de Blandonnet 8 • CP 401
CH-1214 Vernier, Geneva, Switzerland
Tel. +41 22 749 01 11
Fax +41 22 749 09 47
copyright@iso.org
www.iso.org
ii © ISO 2017 – All rights reserved
---------------------- Page: 2 ----------------------
ISO/TR 21477:2017(E)
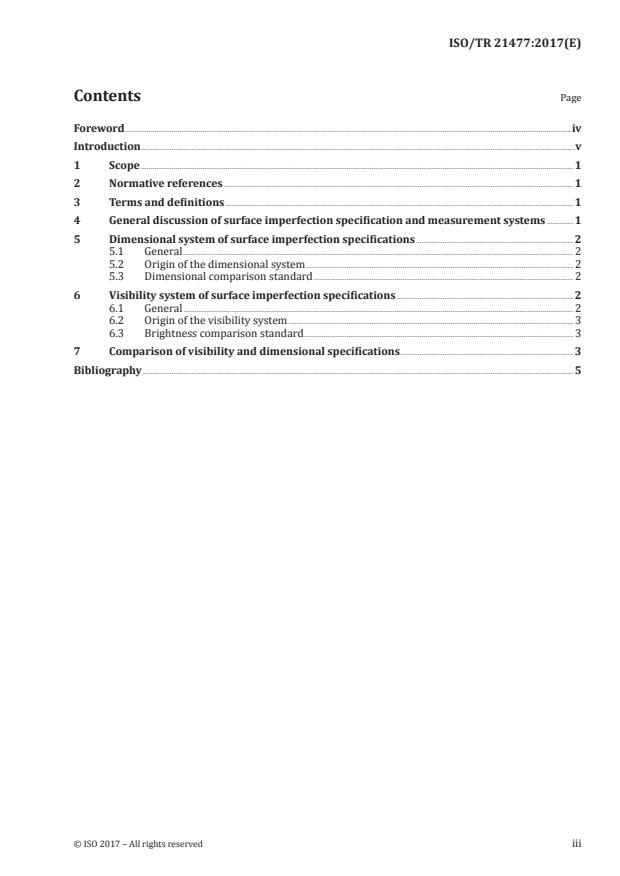
Contents Page
Foreword .iv
Introduction .v
1 Scope . 1
2 Normative references . 1
3 Terms and definitions . 1
4 General discussion of surface imperfection specification and measurement systems .1
5 Dimensional system of surface imperfection specifications . 2
5.1 General . 2
5.2 Origin of the dimensional system . 2
5.3 Dimensional comparison standard . 2
6 Visibility system of surface imperfection specifications . 2
6.1 General . 2
6.2 Origin of the visibility system . 3
6.3 Brightness comparison standard . 3
7 Comparison of visibility and dimensional specifications . 3
Bibliography . 5
© ISO 2017 – All rights reserved iii
---------------------- Page: 3 ----------------------
ISO/TR 21477:2017(E)
Foreword
ISO (the International Organization for Standardization) is a worldwide federation of national standards
bodies (ISO member bodies). The work of preparing International Standards is normally carried out
through ISO technical committees. Each member body interested in a subject for which a technical
committee has been established has the right to be represented on that committee. International
organizations, governmental and non-governmental, in liaison with ISO, also take part in the work.
ISO collaborates closely with the International Electrotechnical Commission (IEC) on all matters of
electrotechnical standardization.
The procedures used to develop this document and those intended for its further maintenance are
described in the ISO/IEC Directives, Part 1. In particular the different approval criteria needed for the
different types of ISO documents should be noted. This document was drafted in accordance with the
editorial rules of the ISO/IEC Directives, Part 2 (see www .iso .org/ directives).
Attention is drawn to the possibility that some of the elements of this document may be the subject of
patent rights. ISO shall not be held responsible for identifying any or all such patent rights. Details of
any patent rights identified during the development of the document will be in the Introduction and/or
on the ISO list of patent declarations received (see www .iso .org/ patents).
Any trade name used in this document is information given for the convenience of users and does not
constitute an endorsement.
For an explanation on the voluntary nature of standards, the meaning of ISO specific terms and
expressions related to conformity assessment, as well as information about ISO’s adherence to the
World Trade Organization (WTO) principles in the Technical Barriers to Trade (TBT) see the following
URL: w w w . i s o .org/ iso/ foreword .html.
This document was prepared by Technical Committee ISO/TC 172, Optics and photonics, Subcommittee
SC 1, Fundamental standards.
iv © ISO 2017 – All rights reserved
---------------------- Page: 4 ----------------------
ISO/TR 21477:2017(E)
Introduction
ISO 10110-7 provides a notation for the indication of the level of acceptability of surface imperfections
of optical elements and optical assemblies. It provides two systems of drawing notations for permissible
imperfections: one based on area and size of imperfections and the other based on the visibility or
appearance of imperfections.
ISO 14997 provides test methods for these two systems of drawing notation.
These two systems of specification and verification are totally different, with different accumulation
and acceptance rules. As a result, a user who is only familiar with one of the systems can become
confused when needing to interpret specifications in the other system. There is no way to translate
a specification in one system into a specification in the other system because their criteria for
acceptability are not interchangeable. The size or area of an imperfection is not correlated with its
visibility or brightness.
It is, however, possible to provide a specification in each system which results in practically the same
yield loss for large numbers of optical components.
© ISO 2017 – All rights reserved v
---------------------- Page: 5 ----------------------
TECHNICAL REPORT ISO/TR 21477:2017(E)
Optics and photonics — Preparation of drawings for
optical elements and systems — Surface imperfection
specification and measurement systems
1 Scope
This document intends to guide the user to understand the origins, meanings and differences between
the two systems of specifying and evaluating surface imperfections in ISO 10110-7 and ISO 14997,
specifically the dimensional method and the visibility method, and to provide information on how to
use them. Tables are provided to show specifications of roughly equivalent yield loss for imperfections
in the two systems.
2 Normative references
The following documents are referred to in the text in such a way that some or all of their content
constitutes requirements of this document. For dated references, only the edition cited applies. For
undated references, the latest edition of the referenced document (including any amendments) applies.
ISO 10110-7, Optics and photonics — Preparation of drawings for optical elements and systems — Part 7:
Surface imperfections
ISO 14997, Optics and photonics — Test methods for surface imperfections of optical elements
3 Terms and definitions
For the purposes of this document, the terms and definitions given in ISO 10110-7 and ISO 14997 apply.
ISO and IEC maintain terminological databases for use in standardization at the following addresses:
— IEC Electropedia: available at http:// www .electropedia .org/
— ISO Online browsing platform: available at http:// www .iso .org/ obp
4 General discussion of surface imperfection specification and measurement
systems
ISO 10110-7 specifies the indication of the level of acceptability of surface imperfections within the
test region of individual optical elements and optical assemblies. These include localized surface
imperfections, edge chips and long scratches. It provides two systems of drawing notations for permissible
imperfections: one based on area and size of imperfections, referred to as the dimensional method, and
the other based on the visibility or appearance of imperfections, referred to as the visibility method.
ISO 14997 provides test methods for these two systems of drawing notation. For imperfections
specified using the dimensional method, three test methods are described. The first is visual evaluation
of the surface without any comparison standard (IV ). The second is a dimensional assessment of a
D
surface imperfection when compared with a dimensional comparison standard comprised of a series
of artefacts of known size (IS ). The third is the dimensional measurement of a surface imperfection
D
using magnification and either a dimensional comparison standard or a reticle or ruler (IM ).
D
For imperfections specified using the visibility method, two inspection methods are described.
The first is visual evaluation of the surface without any comparison standard (IV
...


Questions, Comments and Discussion
Ask us and Technical Secretary will try to provide an answer. You can facilitate discussion about the standard in here.